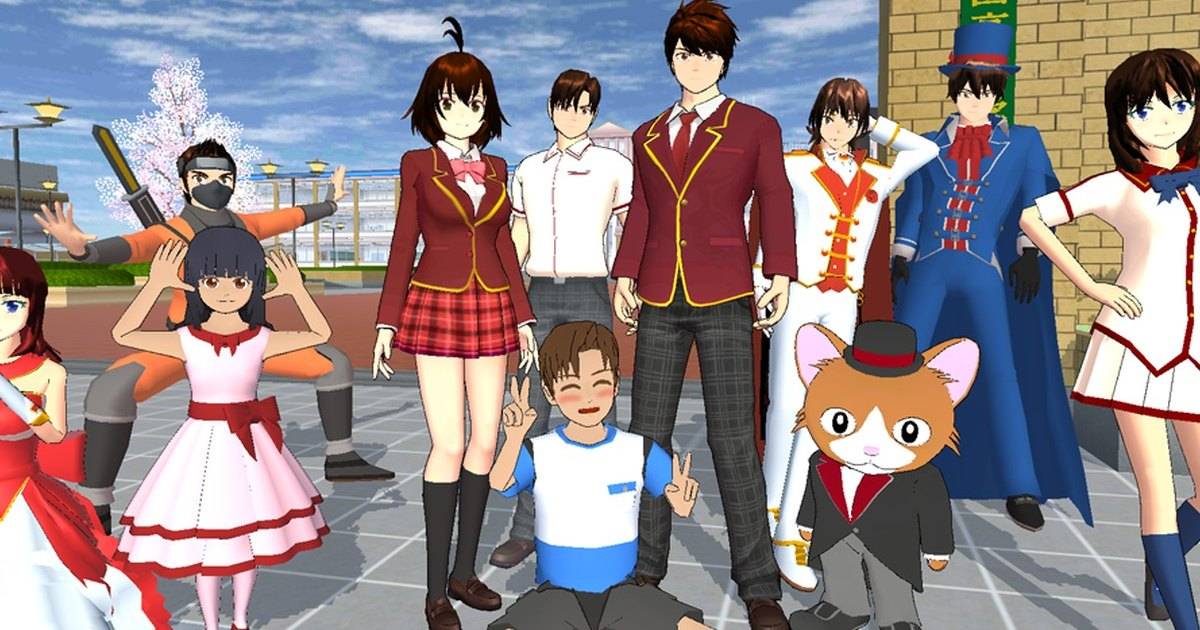
Sometimes an outfit needs just one small detail. A student holding a teddy bear feels completely different from the same student carrying a camera or heading to class with a backpack. Sakura School Simulator includes these accessories, but they are not all attached to the same part of the character.
Garusoft’s February 2026 version history gives unusually helpful specifics: a teddy bear was added for both the left-hand and right-hand item slots, a camera was added for the left hand, and eight backpacks were added for the upper body. Those are official Item Editing categories. Understanding the slots makes it easier to design a character without confusing handheld items, worn accessories and decorative Props placed in the world.
Highlights
- Version 1.047.11 lists teddy bears for left and right hands.
- The same update names a left-hand camera item and eight upper-body backpacks.
- Item Editing slots are not the same thing as placing camera and tripod Props in a scene.
- The styling examples below are creative suggestions, not outfit unlock requirements.
Quick answer: Open the available Item Editing controls and choose the correct attachment area: either hand for a teddy bear, left hand for the camera listed in the update, and upper body for one of the eight backpacks. Check the item visually before filming or saving a look.
Table of Contents
- The Official Slot List
- Build a Character Around One Object
- Handheld Camera and Camera Prop Are Different
- Try a Small Teddy Bear Story
- Backpack Styling for Three Situations
- What to Check When an Accessory Looks Wrong
- Frequently Asked Questions
- Final Thoughts
The Official Slot List
The developer’s release notes are a better reference than guessing from screenshots because they identify exactly where these additions were placed. The teddy bear appears under both hand slots, allowing a creator to choose which side carries it. The camera is listed for the left hand. The backpacks belong to the upper body, not a hand.
That does not mean every other item in the game follows the same rules. Item slots depend on the model and the particular accessory. Use the table for these specific additions, and inspect the current editor if the item you are looking for came from a later update.
| Item | Official category | Practical story idea |
|---|---|---|
| Teddy bear | Left hand / right hand | A gift, lost toy or comfort object |
| Camera | Left hand | Student photographer or journalist |
| Backpacks (8) | Upper body | Morning commute or school outing |
Build a Character Around One Object
An accessory works best when it tells the audience something. A teddy bear might belong to a younger sibling or be a keepsake from an old friend. A camera suggests somebody who observes rather than acts. A backpack instantly communicates that the character is heading somewhere, even before they reach the school gates.
Pick only one prop to carry the main idea, then let the rest of the outfit support it. A busy character wearing every decorative item at once can distract from the story. A simple school uniform and a backpack are often more readable than a costume with multiple conflicting themes.
Handheld Camera and Camera Prop Are Different
Version 1.047.11 also added camera and camera-tripod objects to Props. These are scene-building objects, whereas the Item Editing camera is intended to attach to the character. That distinction matters if you are planning a photography scene: the student can appear to carry a camera while a separate tripod prop sits in a staged studio.
Do not confuse the existence of a camera model with a promise that every camera object has the same shutter function. Treat them as visual storytelling tools unless the exact interaction is confirmed in your game. You can still make a convincing news-club scene by using poses, character placement and a screenshot from the game camera.
Try a Small Teddy Bear Story
Begin with a student who finds a teddy bear near a bench. The next shot shows the student holding it and wondering who left it behind. A second character recognizes the toy, and the story ends with the bear being returned. There is no need for a hidden fetch quest or dialogue option to make the sequence understandable.
The useful technique is continuity. If the bear is in the character’s right hand in the first shot, keep it in that hand unless changing hands is part of the action. Small differences become surprisingly obvious when clips are edited together. Note your chosen attachment slot before you start recording.
Backpack Styling for Three Situations
For a regular school morning, combine a backpack with a modest uniform and a shot outside the school. For an after-class club outing, let the character carry a bag while entering a café or walking through town. For a mystery story, a backpack can suggest that the student has packed supplies before leaving home.
The eight-backpack count comes from one specific update, not a claim about every backpack available in every build. Your own Item Editing list may include additions from other versions. Rather than inventing a rarity system for the bags, describe the visible color and silhouette when choosing which one fits a character.
- School-day outfit: neat bag, calm pose, daytime arrival.
- Photography-club outfit: bag plus handheld camera, clear lens-facing shot.
- Adventure outfit: practical bag and a short journey scene.
What to Check When an Accessory Looks Wrong
A floating object or a hand clipping through a toy can be caused by the selected pose, character proportions or a mismatch in placement. Switch temporarily to a neutral pose, then adjust one variable at a time. If an item looks fine while standing still but awkward in motion, film a static close-up and use a separate walking shot.
Remember that a visual edit and an inventory purchase are not necessarily the same system. Some appearance changes have version-specific persistence limits, so check that the look survives the transition you plan to use before committing to a long video. A short test saves more time than rebuilding the entire scene later.
Frequently Asked Questions
Which hand can hold a teddy bear?
Garusoft lists teddy-bear items for both left-hand and right-hand Item Editing slots in version 1.047.11.
Where are the eight backpacks?
They were listed under Upper Body in the official update notes.
Is the camera an Item or a Prop?
Both types were introduced: a left-hand camera Item Editing addition, and camera plus tripod Props for staging a scene.
Do I need a paid mod to add these items?
The items listed here are documented additions from Garusoft’s official game updates, not third-party mod requirements.
Final Thoughts
Small accessories can do a lot of storytelling work. A bear gives a scene a mystery, a camera gives a character a role, and a backpack gives a journey a starting point. Choose the correct Item Editing slot, keep the look consistent between shots and let one object carry the meaning instead of filling the screen with every accessory available.
Sources and Verification
Game mechanics mentioned here are based on Garusoft’s store description and dated release notes. Original challenges, filming plans and sample scenarios in this article are editorial ideas, not developer-issued quests. The names and placement of menu controls can vary across device versions.
- Garusoft on Apple App Store
- Garusoft on Google Play