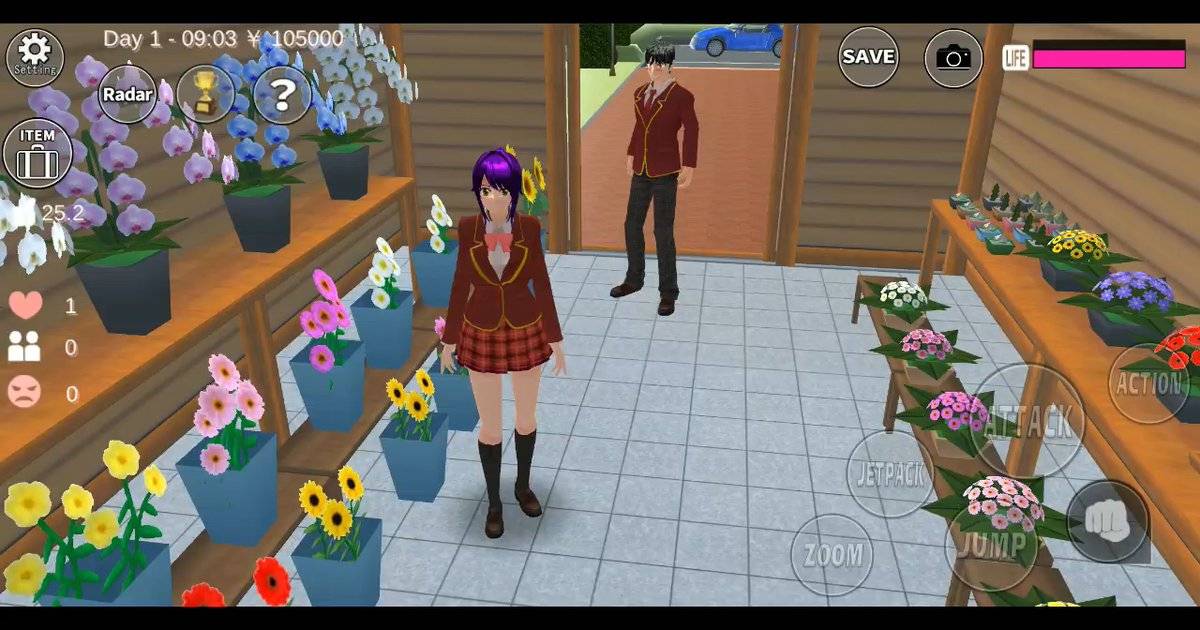
A clothing store in Sakura School Simulator can look impressive from the outside and still feel unfinished once your character walks through the door. The missing detail is often a proper fitting room: somewhere to enter, try on an outfit and reveal the new look. That is exactly the sort of small space where a good Props layout does more than a giant building.
Garusoft’s June 2025 release notes introduced a Props object called ChangeClothesArea. The same update expanded clothing-related possibilities for U-MART convenience store clerks. This article explains how to use that confirmed content as inspiration for a boutique roleplay. It does not claim that placing one prop automatically creates an entire functional store or unlocks every NPC costume.
Highlights
- ChangeClothesArea was named among Garusoft’s June 2025 additions.
- The related release notes also mention clothing changes for U-MART clerks.
- A compact fitting room needs an entrance, a private changing space and a reveal area.
- The building layout below is a creative design exercise, not an official construction recipe.
Quick answer: Find the ChangeClothesArea prop in a supported version, test how it behaves in an empty space, and build a small fitting-room layout around it. Check changing behavior on your chosen character rather than assuming every NPC has the same options.
Table of Contents
- What Is Actually Confirmed
- Sketch a Four-Part Fitting Room
- Test Function Before Decoration
- Turn the Boutique Into a Short Story
- Avoid Common Boutique-Build Problems
- Make the Store Feel Lived In
- Frequently Asked Questions
- Final Thoughts
What Is Actually Confirmed
The App Store version history identifies ChangeClothesArea as a new Props addition in the 2025 update period. That is a real named object, not a community invention. Garusoft also documented new clothing functionality for convenience store clerks, making the update particularly interesting for creators who like shop scenes.
Still, an official object name is not a complete instruction manual. It does not prove that any character can change into any costume, nor that a certain Props layout is required to trigger a secret event. The sensible approach is to test the object in an empty area first, learn what your current version allows, and then decorate around that working setup.
Sketch a Four-Part Fitting Room
A useful boutique does not need complicated architecture. Divide the space into a welcome area, a waiting zone, a fitting area and a reveal spot. The fitting space should be visually separate enough that a before-and-after shot makes sense. Use simple walls or Props that are already available in your build, and leave enough room for the character to move.
The reveal area is more important than it sounds. If a character emerges from the fitting room and immediately bumps into a counter, the new outfit will be hard to appreciate. Clear the space in front of the doorway and keep the background relatively plain so clothing colors are easy to see.
| Area | Purpose | Useful design choice |
|---|---|---|
| Entrance | Introduce the shop | Clear walking path |
| Waiting zone | Hold another character | Bench or simple standing area |
| Changing zone | Try an outfit | Privacy divider and ChangeClothesArea test |
| Reveal spot | Show the result | Open space and steady camera angle |
Test Function Before Decoration
Open a test save or use a location you can reset comfortably. Place the confirmed prop where there are no other decorative objects nearby. Approach with the character you plan to use and check which interactions appear. If the expected action does not show, do not keep stacking more furniture around the object in the hope that it will magically activate.
Check the game version and character restrictions, and compare the object’s behavior with the developer’s current notes. Only after you have a reliable test should you spend time on walls, signs and shelves. This is a general build-testing method, not a claim that the same menu appears for every NPC on every device.
Turn the Boutique Into a Short Story
Start with a character looking for a costume for a school event. In the first shot, the character stands outside the store in everyday clothing. In the second, the character enters the changing area. In the third, the character appears in the new outfit. A friend offers a compliment, and the pair head out for the occasion.
The whole sequence can be assembled from short clips and captions. If your version does not support a continuous costume switch for a particular character, record the before and after shots separately. What matters to the viewer is a consistent doorway and a clear difference in the outfit, not the illusion of an undocumented transformation feature.
Avoid Common Boutique-Build Problems
Tiny interiors often fail because the decorative objects are too close together. Make sure the character can enter and exit before adding extra shelves. Another common issue is inconsistent framing: the before shot uses one angle, but the after shot is taken from the opposite side, so the room appears to change shape.
A third mistake is assuming that a convenience store clerk’s clothing functionality applies to every NPC. Garusoft documents character-specific exceptions for numerous editing features. If an interaction works for one character but not another, it may be a limitation rather than a broken installation.
- Leave a clear path to the changing area.
- Keep one camera angle for the before-and-after reveal.
- Do not promise universal costume changes for all NPCs.
- Test saving and loading before investing in a detailed decoration pass.
Make the Store Feel Lived In
Use simple details that support the story: a display near the entrance, a waiting seat and a spot where the customer can stand while deciding. There is no need for hundreds of objects. A small boutique with strong visual organization usually feels more believable than a crowded room filled with unrelated props.
Give the shop a personality. A formal uniform boutique might use clean lines and a reserved waiting area. A costume shop could have colorful displays and a more playful reveal corner. Both layouts can use the same basic structure; what changes is the fictional reason a customer would visit.
Frequently Asked Questions
Is ChangeClothesArea an official prop?
Yes. Garusoft lists ChangeClothesArea in its 2025 App Store update notes.
Does it unlock every costume?
The release notes do not establish universal costume unlocking. Test the available interaction and character limitations in your current version.
Can U-MART clerks change clothes?
Garusoft documented clothing changes for U-MART convenience store clerks in the same update period.
Do I need to download a clothing-store Props ID?
No. The suggested fitting-room layout is an original build using in-game object tools.
Final Thoughts
A fitting room is a small detail that gives a shop a reason to exist. Start with the official ChangeClothesArea object, confirm what your version supports and build only the space the scene needs. Once the entrance, changing area and reveal shot work, the rest is simply decoration — and a good outfit change can become a whole little Sakura Town story.
Sources and Verification
Game mechanics mentioned here are based on Garusoft’s store description and dated release notes. Original challenges, filming plans and sample scenarios in this article are editorial ideas, not developer-issued quests. The names and placement of menu controls can vary across device versions.
- Garusoft on Apple App Store
- Garusoft on Google Play