- The layer-by-layer method is the easiest way for beginners to learn.
- It breaks the solve into 7 steps, from the white cross to twisting the yellow corners.
- You only need about 6 short algorithms, most of them 4 to 8 moves long.
- A 3x3 cube has more than 43 quintillion possible positions.
- Every position has been proven solvable in 20 moves or fewer.
The Rubik's Cube is having another moment, with cube-solving apps even climbing Google Play's popular charts. Yet solving a 3x3 cube with your own hands is something almost anyone can learn in a day or two of practice.
The key is not special intelligence but following a fixed order of steps and memorizing a few short algorithms. The method most often taught to beginners is layer by layer: you solve the cube from the first layer, then the middle, then the last.
This guide explains cube notation, the seven steps of the beginner method with their algorithms, and tips to keep improving your times.
Quick answer: The easiest way to solve a 3x3 Rubik's Cube is the layer-by-layer method in 7 steps: make a white cross, solve the white corners, solve the middle layer, make a yellow cross, match the yellow edges, position the yellow corners, then twist the yellow corners. Key algorithms include R' D' R D for corners, F R U R' U' F' for the yellow cross and R U R' U R U2 R' for matching the yellow edges.Get to Know the Cube First
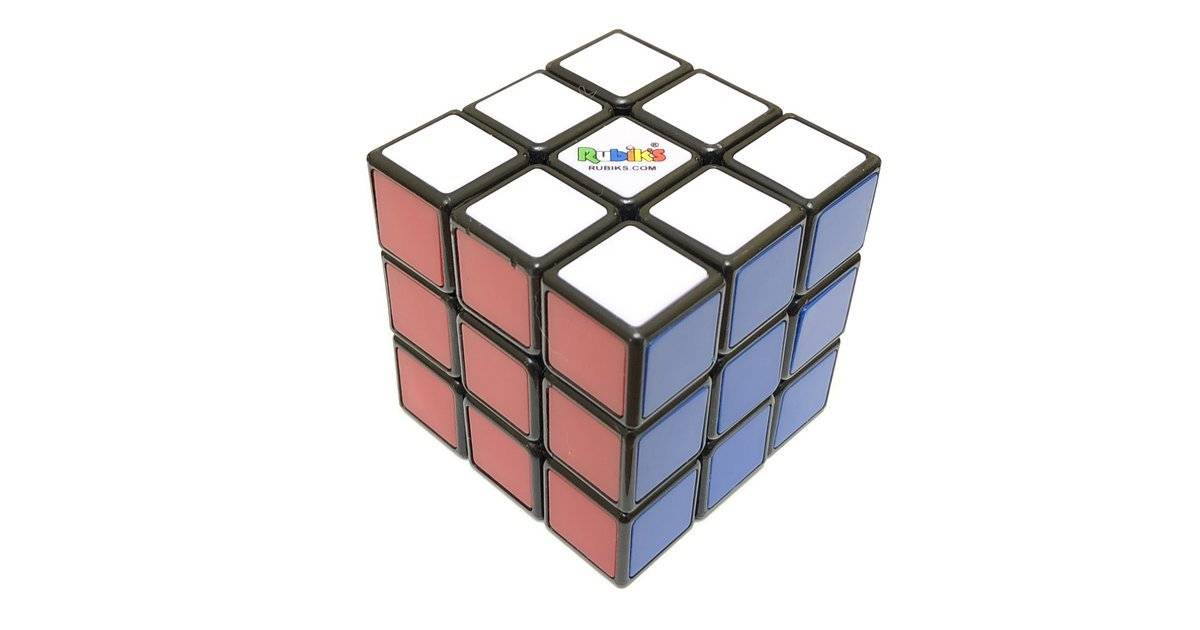
A 3x3 cube has three types of pieces. Center pieces have one color and never move, so the center color defines that face. Edge pieces have two colors, and corner pieces have three.
On a standard cube, white is opposite yellow, red is opposite orange and blue is opposite green. Learn this early, since you will constantly match pieces to their center colors.
The cube was invented by Ernő Rubik, a Hungarian architect and lecturer, in 1974. It has about 43 quintillion possible positions, but mathematicians proved in 2010 that every one of them can be solved in 20 moves or fewer.
Cube Notation: R, U, F and the Prime Symbol
Algorithms are written with letters representing the face you turn. A letter on its own means a clockwise turn as if you were looking straight at that face.
| Notation | Meaning |
|---|---|
| R | Turn the right face clockwise (up) |
| L | Turn the left face clockwise (down) |
| U | Turn the top face clockwise (to the left) |
| D | Turn the bottom face clockwise (to the right) |
| F | Turn the front face clockwise |
| B | Turn the back face clockwise |
| Prime, for example R' | Turn counterclockwise |
| 2, for example U2 | Turn 180 degrees (twice) |
Direction is defined as if you are facing the turned side directly.
For example, R U R' U' means: turn the right face up, turn the top face left, bring the right face back down, then turn the top face back to the right.
Steps 1 and 2: White Cross and White Corners
Step 1, white cross. Hold the cube with the white center on top. Bring the four white edge pieces up to form a plus sign, making sure each edge's second color also matches the center on its side. This step is solved intuitively, without algorithms.
A popular beginner trick is the daisy method: gather the four white edges around the yellow center, then turn each edge until its side color matches a center, and turn that face 180 degrees to send the white edge to the white side.
Step 2, white corners. Keeping white on top, find a white corner piece in the bottom layer. Turn the bottom layer until that corner sits directly below its target spot at the front right, then repeat R' D' R D until the corner is in place with white facing up. Repeat for all four corners.
Step 3: Solve the Middle Layer
Flip the cube so the finished white face is on the bottom and yellow is on top. Now look for an edge piece in the top layer that has no yellow on it.
Turn the top layer until the front color of that edge matches the front center, forming an upside-down T. If the edge's top color belongs on the right, use U R U' R' U' F' U F. If it belongs on the left, use U' L' U L U F U' F'.
If an edge is already in the middle layer but flipped the wrong way, pop it out by running one of these algorithms in that slot, then insert it again correctly.
Steps 4 and 5: Yellow Cross and Matching the Edges
Step 4, yellow cross. Look at the yellow face on top. You will see a dot, an L shape or a line. Use F R U R' U' F'. For a line, hold it horizontally and one application gives you the cross. For an L, hold it at the back left, run the algorithm to get a line, then run it once more. For a dot, run the algorithm and follow the pattern that appears.
Step 5, match the yellow edges. Turn the top layer until two edges match their side centers. If the two matching edges are next to each other, hold them at the back and right and run R U R' U R U2 R' U. If they are opposite each other, run the algorithm once, then repeat from the correct position.
Steps 6 and 7: Position and Twist the Yellow Corners
Step 6, position the yellow corners. Find a corner that is already in the right spot, even if its colors are not facing the right way. Hold it at the top front right and run U R U' L' U R' U' L. Repeat until all four corners are in place. If no corner is correct, run the algorithm once from any position.
Step 7, twist the yellow corners. Keep yellow on top and place an unsolved corner at the top front right. Repeat R' D' R D until its yellow sticker faces up. Then turn only the yellow layer to bring the next unsolved corner to the front right, and repeat.
Don't panic if the rest of the cube looks scrambled midway through step 7. As long as you only turn the yellow layer between corners, everything falls back into place once the last corner is done.
Tips to Get Faster
Practice each algorithm until it is muscle memory, not just something you read. Run each one slowly while watching which pieces move, because that understanding helps when you make a mistake.
Use a speed cube, which turns more smoothly and catches less. If you get stuck, cube-solver apps can scan your cube and show step-by-step moves, but try to understand the method yourself.
Once you consistently finish under two minutes with the beginner method, you can move on to the methods speedcubers use, such as CFOP, which requires more algorithms but is far faster.
FAQ (Frequently Asked Questions)
The layer-by-layer method. You solve the first layer, the middle layer and then the last layer in 7 steps using about 6 short algorithms. R' means turning the right face counterclockwise, or downward when viewed from the front. The yellow cross algorithm is F R U R' U' F'. Hold a line horizontally or an L shape at the back left, and repeat until the cross forms. With the layer-by-layer method, many beginners solve their first cube within one or two days of practice, depending on how quickly they memorize the algorithms. The Rubik's Cube was invented by Ernő Rubik, a Hungarian architect and lecturer, in 1974.1. What is the easiest method to solve a 3x3 Rubik's Cube?
2. What does R' mean in cube notation?
3. What is the yellow cross algorithm?
4. How long does it take a beginner to learn the Rubik's Cube?
5. Who invented the Rubik's Cube?
Conclusion
Solving a 3x3 cube is not about talent but about order. With the layer-by-layer method, you just follow seven steps and memorize six short algorithms.
Start slowly, learn the notation and practice each algorithm until it flows. Once you solve it the first time, your times will drop on their own.
- Layer by layer is the easiest method for beginners.
- Learn the notation R, L, U, D, F, B, prime and 2.
- Key algorithms: R' D' R D, F R U R' U' F' and R U R' U R U2 R'.
- The middle layer uses mirrored right and left algorithms.
- The cube was invented by Ernő Rubik in 1974 and can be solved in 20 moves or fewer.