- A photo booth can be built in Sakura School Simulator from cube and cylinder props without mods.
- Three thin cube walls form the booth, with one open side for the camera.
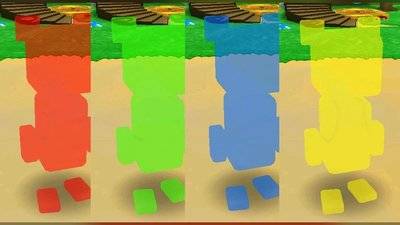
- Several thin colored panels let you swap backdrops for different themes.
- A frame in front of the backdrop makes shots look like studio photos.
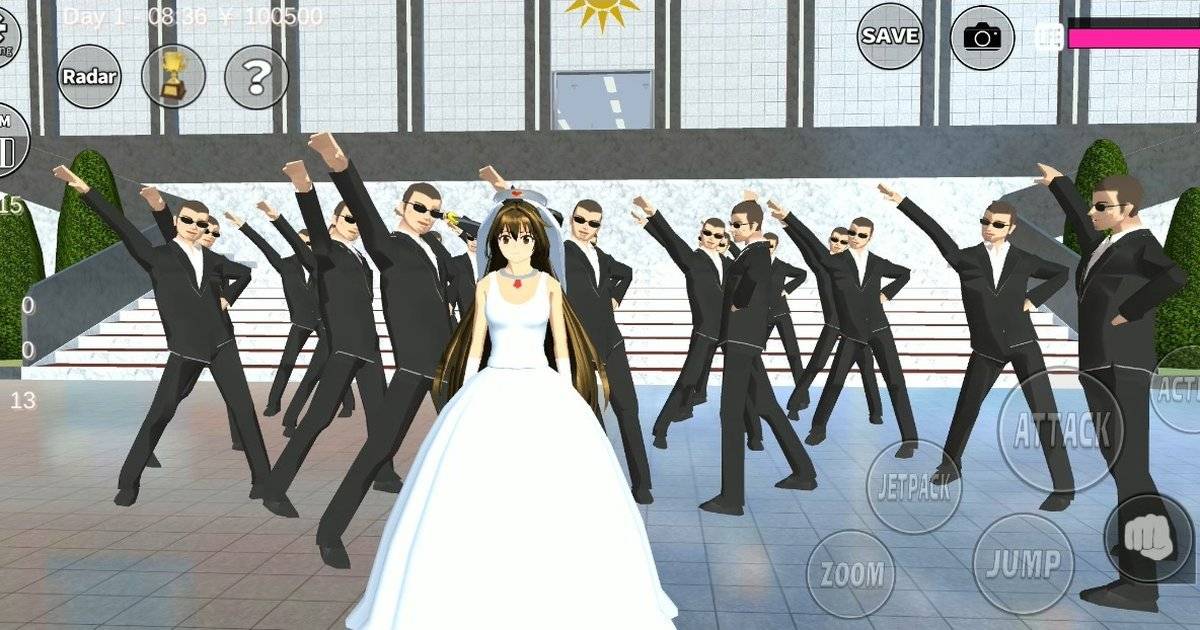
- The camera icon at the top of the screen is used to photograph characters inside the booth.
A photo booth is a perfect props build for Sakura School Simulator players who love capturing their characters' moments. It is made from basic prop shapes and works for class photos, graduations and weddings.
The in-game camera works anywhere, but busy backgrounds often spoil the shot. A photo booth fixes that with a plain backdrop, neat lighting and a frame that makes photos look professionally printed.
The steps below use basic props such as cubes and cylinders and adjust size, color, position and material. Menu names may differ between versions, but the principles are the same.
Quick answer: Build three thin cube walls into a booth with one side open, attach a colored backdrop panel to the back wall, add a frame of thin cubes in front of the backdrop, and place cylinder lights on both sides. Put your characters inside and shoot with the camera icon at the top of the screen.Choosing a Location
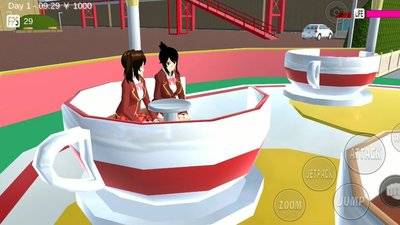
Photo booths fit best where events happen, such as the school yard, a hall, the amusement park or near the wedding venue, so the booth blends into your roleplay.
Pick flat ground away from other buildings. You need open space in front so the camera can frame the shot properly.
Save the game with the SAVE button before you start so your progress is safe.
Steps to Build the Photo Booth
Build the booth first, then the backdrop, the frame and finally the lights and photo props.
| Part | Prop shape | Settings |
|---|---|---|
| Floor | Flat cube | Slightly larger than the booth, neutral color |
| Side walls | Thin cubes | Two, a little taller than the characters |
| Back wall | Thin cube | As wide as the booth, holds the backdrop |
| Backdrop panel | Thin cube | On the back wall, plain or pastel |
| Frame | Four thin cubes | A rectangle in front of the backdrop |
| Lights | Cylinder on a pole | One left and one right, white or yellow |
| Sign | Thin cube | Above the booth for the event name |
Make the walls tall enough that the outside does not appear in photos. Leave the front open for characters to walk in and for the camera.
Let the backdrop stick out slightly from the back wall so its color reads clearly. Keep a few panels in different colors next to the booth to swap by theme.
Photo Props and Themes
Add small props to bring photos to life. Small colorful spheres on the walls can be balloons, and small cubes can be gift boxes.
For graduations, use a navy or maroon backdrop and a sign with the class name. For weddings, use white and pink with decorative flower props if available.
A Christmas theme works with a green and red backdrop and a simple tree from green cubes that shrink toward the top.
Switch the lights to warm yellow for night shots so the scene feels cozy instead of washed out.
How to Take Photos in the Booth
Move your character into the booth facing the open side. For group shots, bring along friends or NPCs who follow your main character and line them up in front of the backdrop.
Tap the camera icon at the top of the screen and adjust the angle until the frame fills the shot. Take several photos with different poses and expressions.
Use the in-game clock to pick the time. Daytime gives bright colors, while night shots look dramatic when the side lights are bright.
Use the photos as story covers, class albums or social media content about your roleplay.
FAQ (Frequently Asked Questions)
Yes. It uses basic prop shapes such as cubes and cylinders available in Sakura School Simulator. Tap the camera icon at the top of the screen, adjust the angle and take the shot. Four thin cubes arranged as a rectangle in front of the backdrop. Yes. Keep several thin panels in different colors and swap them on the back wall for each theme. On flat ground near event spots such as the school yard, a hall, the amusement park or the wedding venue.1. Can I build a photo booth without mods?
2. How do I take photos in Sakura School Simulator?
3. Which props make the photo frame?
4. Can I change the backdrop?
5. Where should I build the photo booth?
Conclusion
A photo booth is a small props build that pays off for storytellers in Sakura School Simulator. A plain backdrop, a frame and simple lights make character photos look much cleaner.
Keep a few backdrop panels in different colors so one booth can serve birthdays, graduations and weddings.
- The booth is built from thin cubes and cylinders with no mods.
- Three walls keep busy backgrounds out of shots.
- Swappable backdrop panels match each event theme.
- Photos are taken with the camera icon at the top of the screen.